Written by Elke
18 Jan 2016


So this blog post is not what I originally planned it to be. I like to think of myself as a crafter, but somewhere along the way my clumsiness always catches up and I’m faced with reality again. So this post is the result of what was supposed to be a DIY on how to make a gingerbread house. The truth is, there is nothing Pinterest to the making of a gingerbread house. It is a complete nightmare, a sure first world problem. Any way, this is how it (wasn’t supposed to) go down:
Step 1. Make gingerbread dough. Just kidding, go to the supermarket and buy yourself a nicely wrapped piece of readymade dough. It’s cheap, and good stuff! I got mine in ICA 🙂
Step 2. Design the house of your dreams. Then simplify it. Simplify it again. End up with the most basic shapes, this is the only way this might work out.

Step 3. Cut the pieces out of the dough, and bake them in the oven according to the package. You want to make sure the roof is not too heavy, gravity is a real pain in the ass from time to time.
Step 4. Make some glue with egg white, powder sugar, and a suspicious little splash of a liquid thing called Ättika. You can find this in any supermarket. (or borrow it from a nice Swede like I did!)
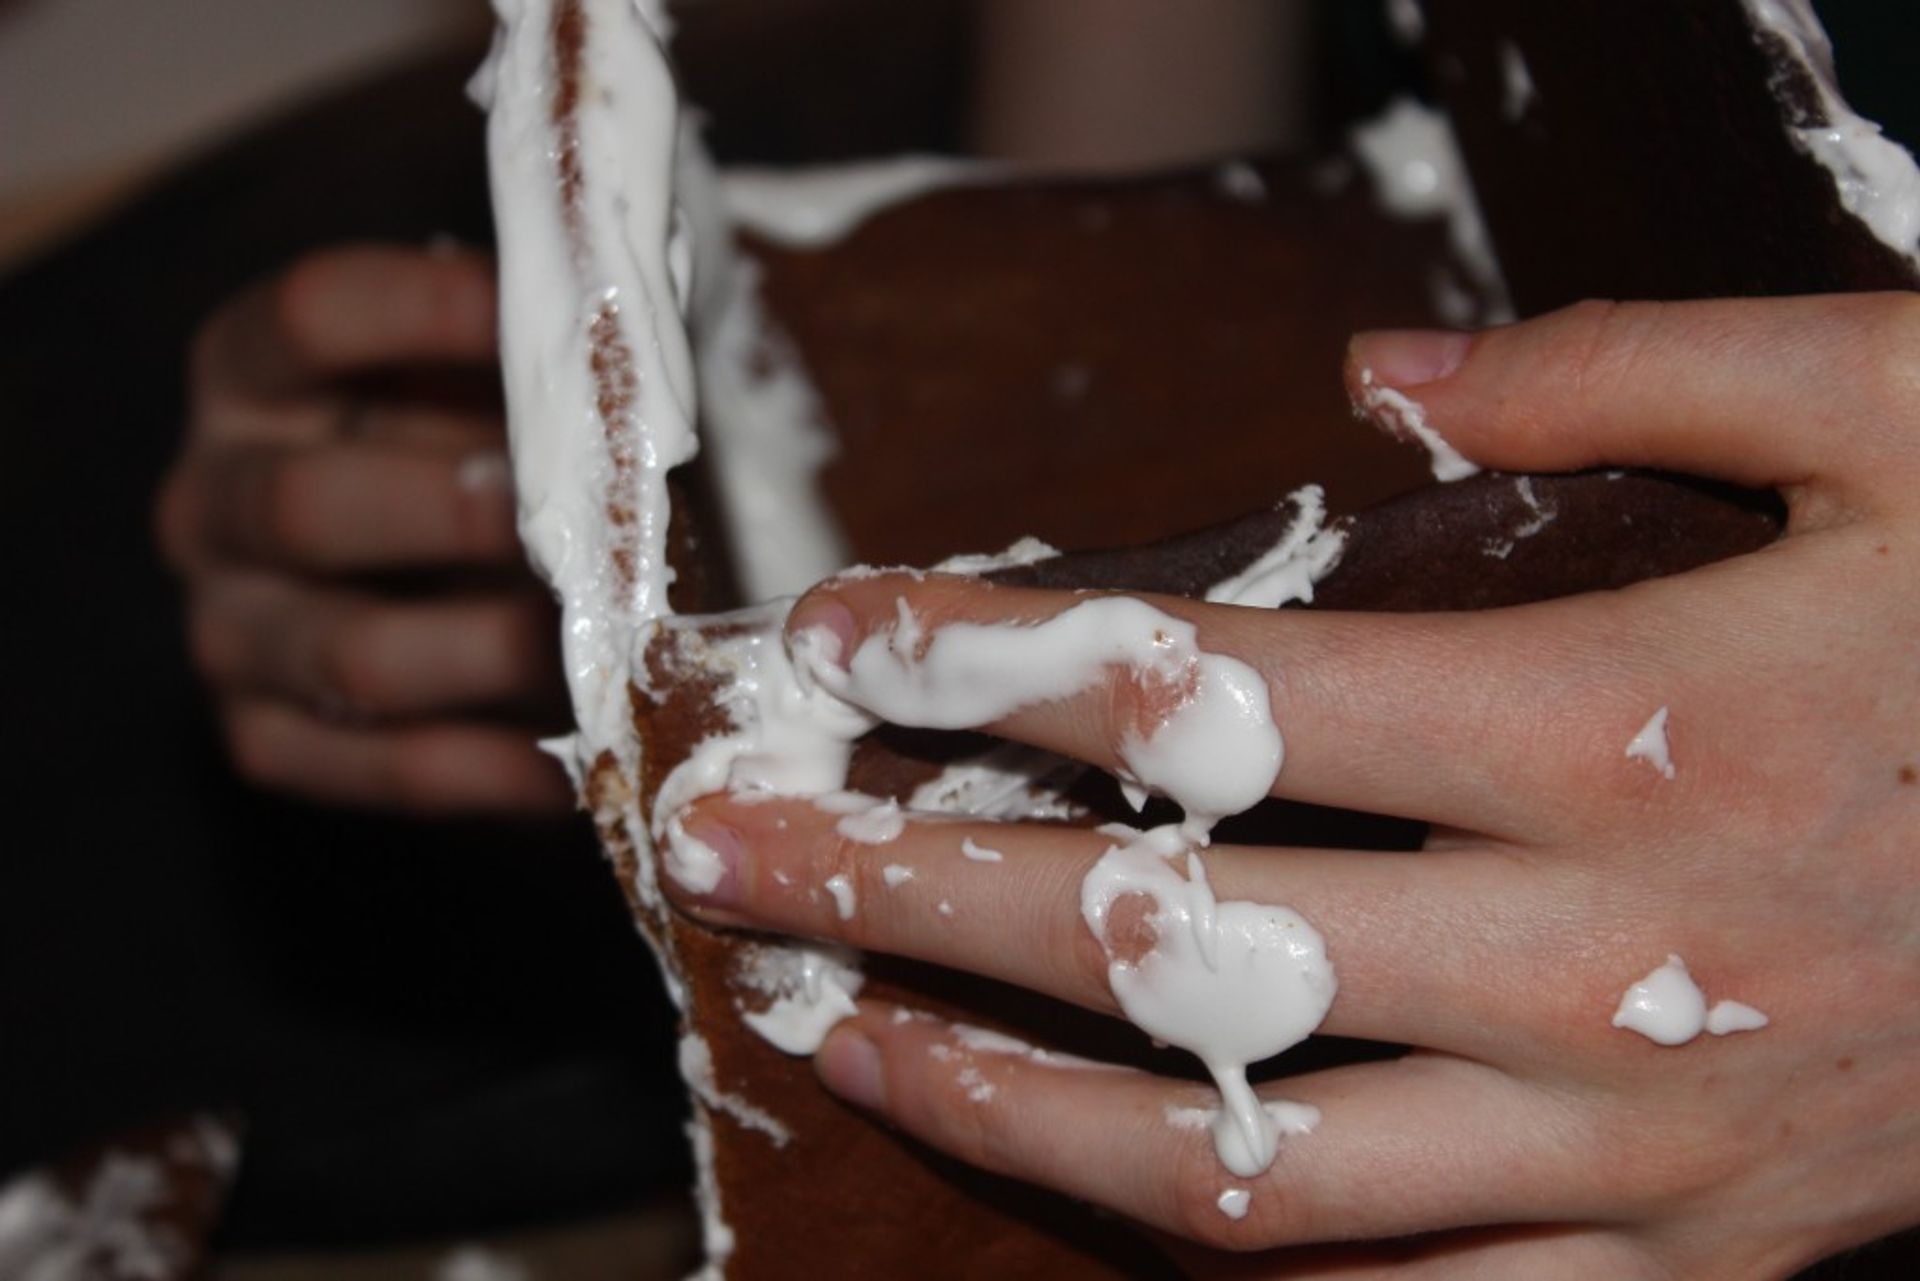
Step 5. Once you have the glue, you glue the pieces together. Right, this sounds so much easier than it is… Let’s get to…
…step 6. Gather friends. For physical as well as mental support. You are about to defy gravity, and I foolishly assumed at my first attempt that I could make the pieces stick without this Ättika stuff.. Not!
It took a million hands to keep it together and even leaving the house outside in inhumanly cold temperatures didn’t really do the job.
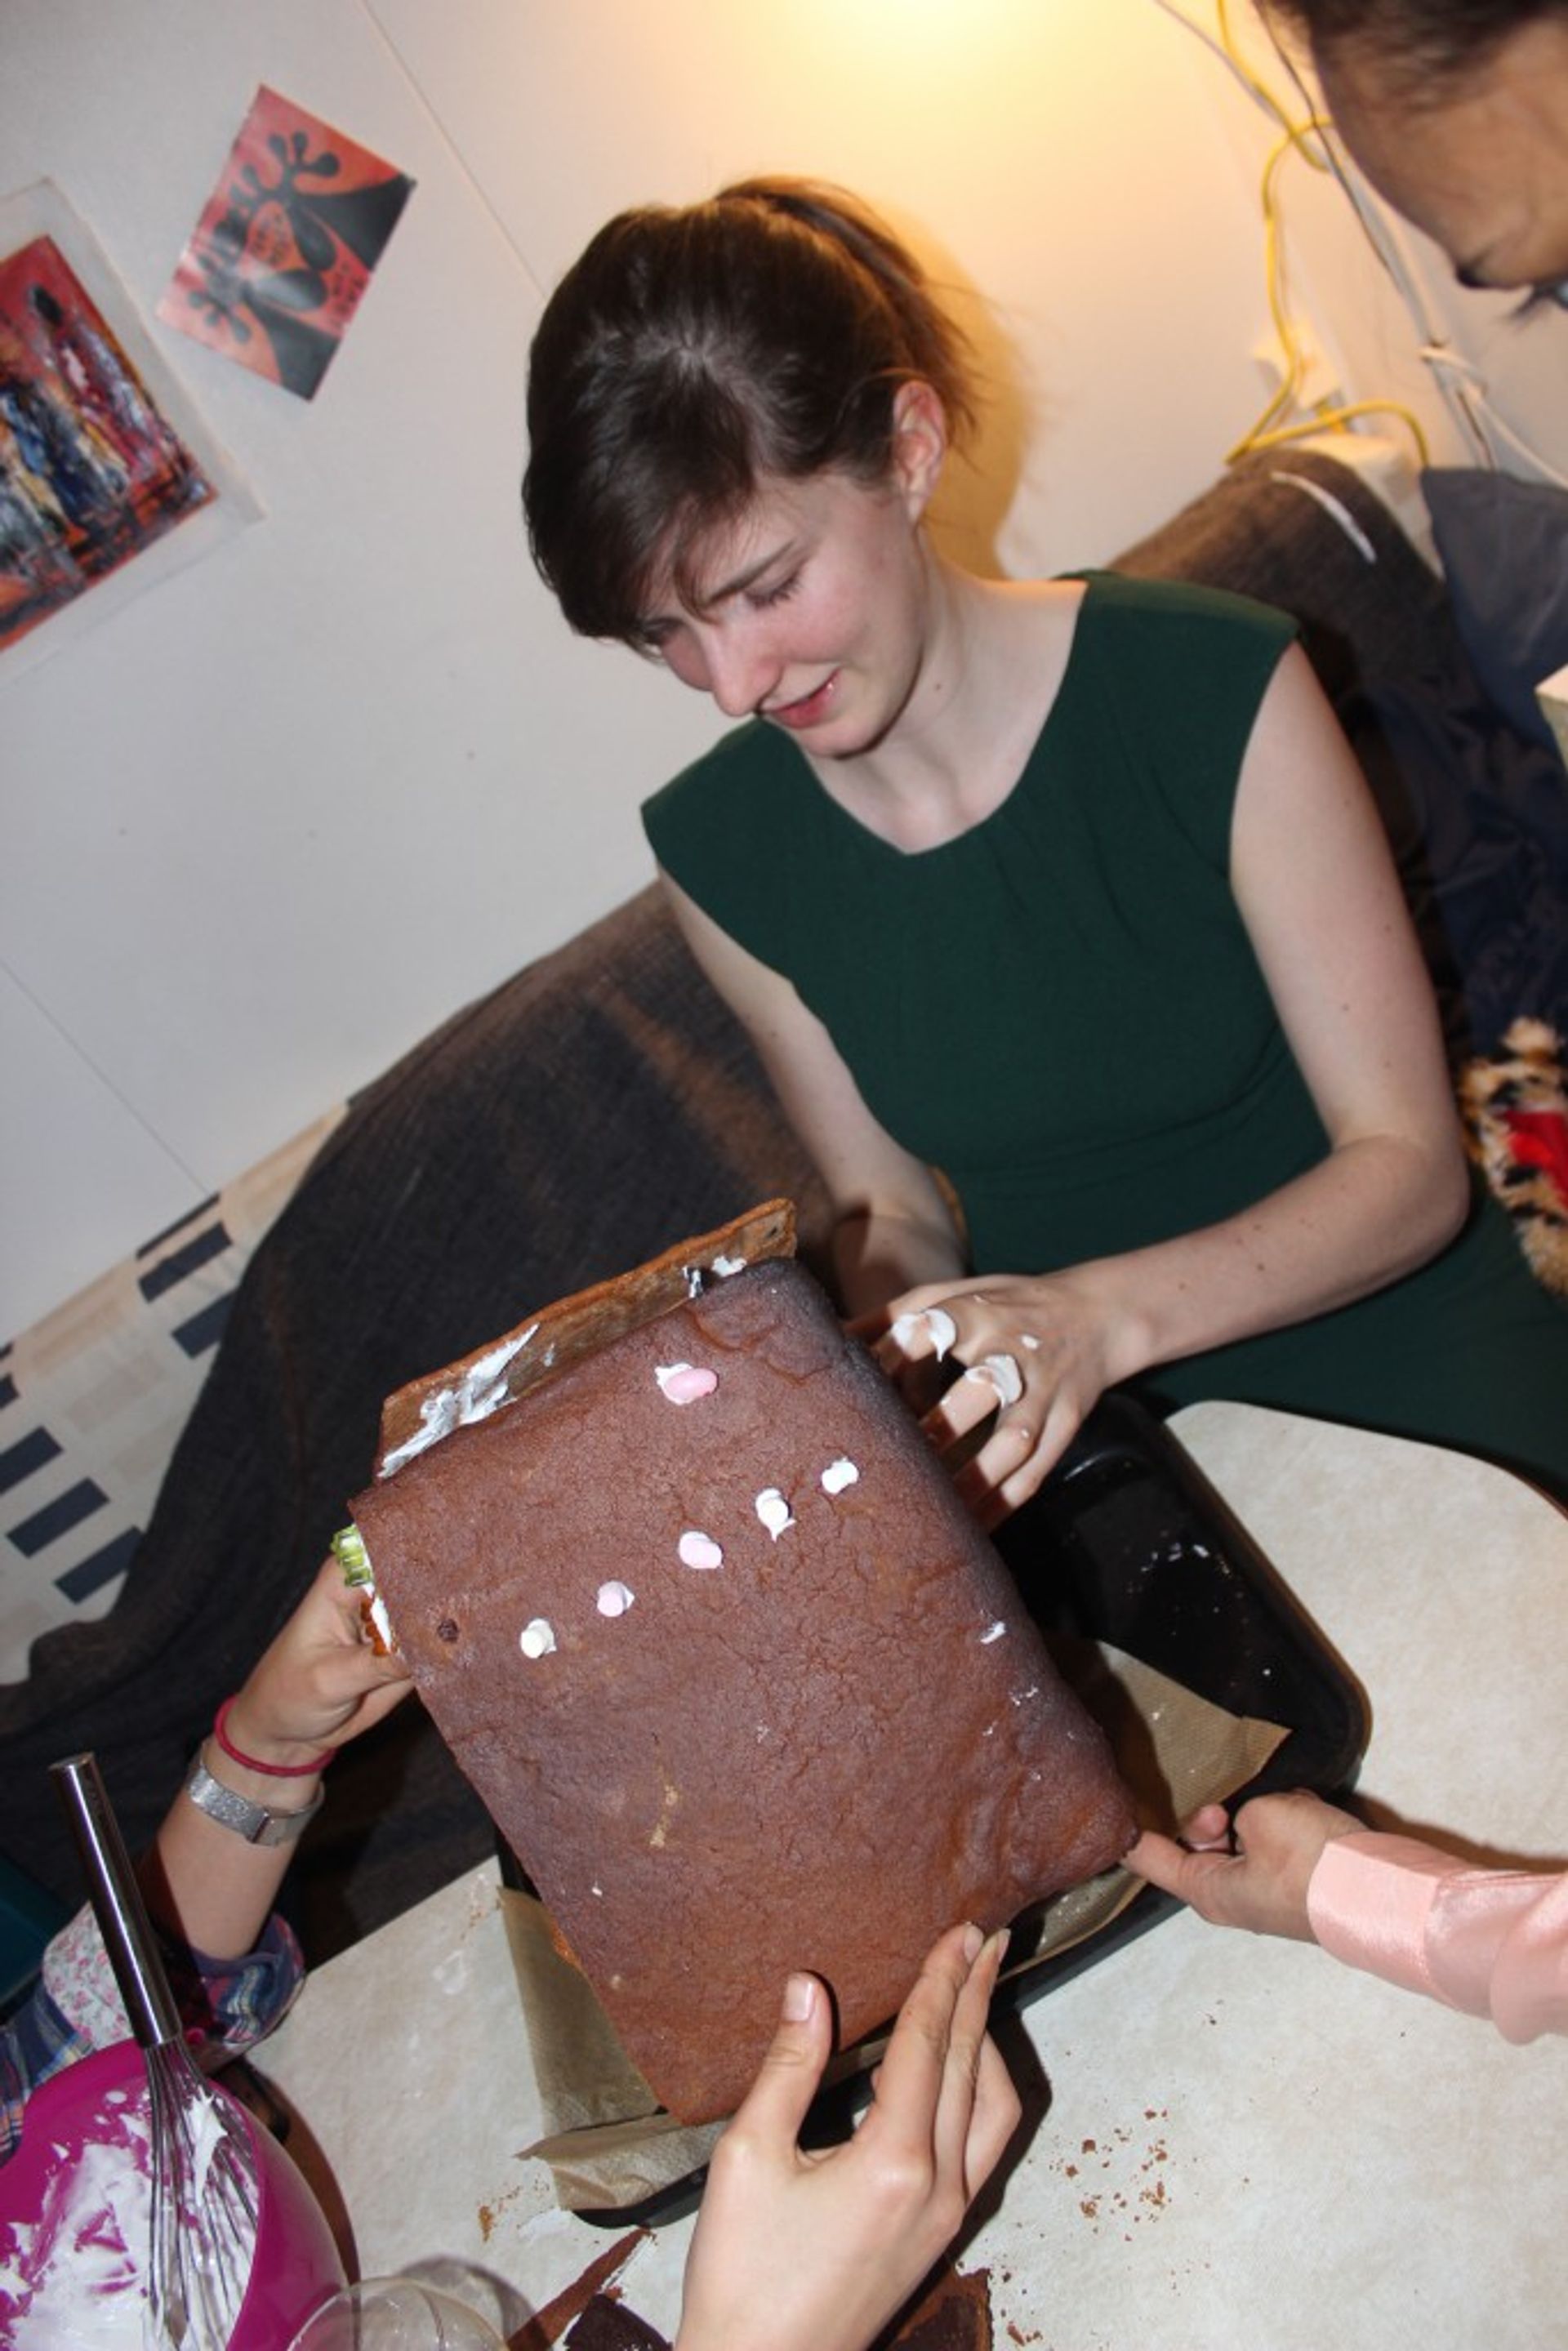
By now, you have worked for a couple of hours on your masterpiece and you think you are really close to the end. The house sticks together. Well… guess again, without this Ättika stuff, the house is doomed to fall apart and all the pieces will break.
PROOF:
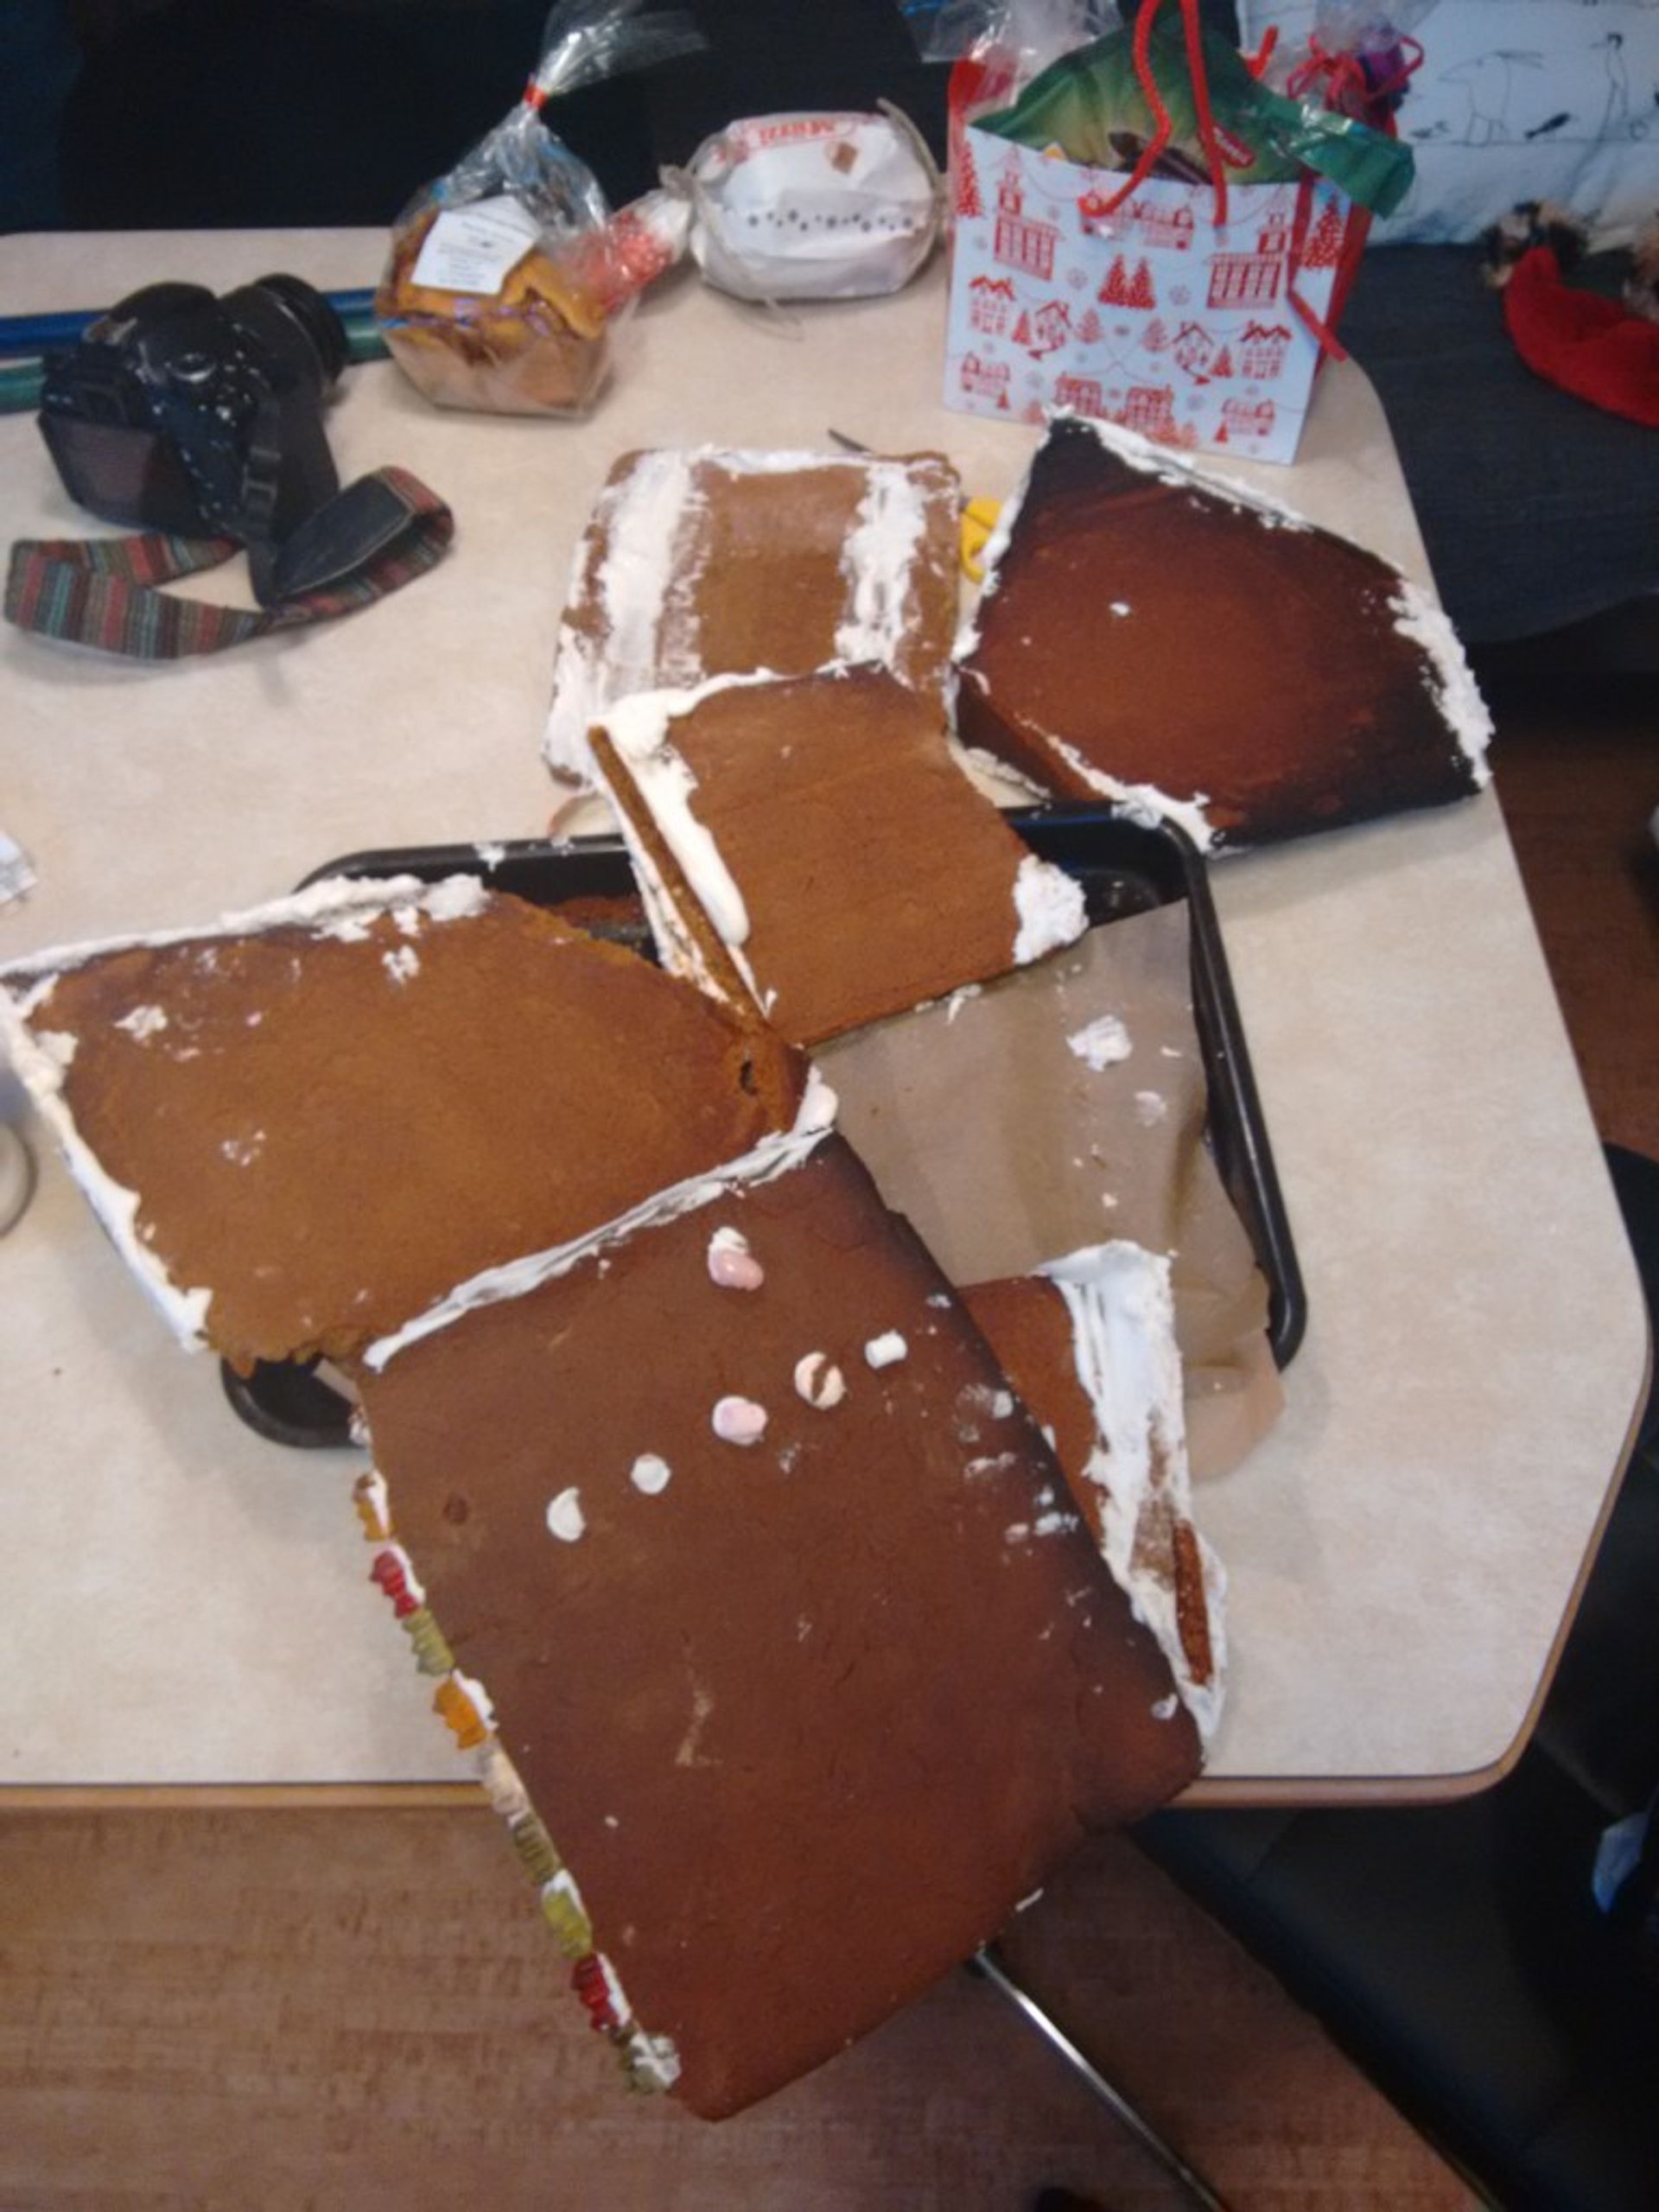
Step 6. Recover the broken pieces by cutting off the broken edges. Your house will be a bit smaller than you originally planned it to be.
Step 7. Go get Ättika. You neeeeeed this, otherwise you will have to repeat all the steps all over again. (It has already taken you a few days to get to this point)

Step 6. Get decoration stuff. Smarties make these houses look really nice! Sadly, whenever I buy them I drool at them for five minutes before eating the whole box. This happened twice 🙁 So no smarties on my gingerbread house.
I then decided to go for some candy I don’t dig as much, in the hope I could keep these for a little longer. That actually worked! I got marshmallows and gummy bears and managed to eat only half of the marshmallows. (It’s dark and cold, alright?) You would want to get candies that actually fit together. Like all pastel colours, or all bright colours, all clear candy or all plain. I broke all the rules :s

Step 7. Put the candies on one side of the house. As mentioned before, if you just put random candies together on all the weird places it won’t be anything like the gingerbread houses you see on these model houses allover pinterest. I have to spare you from the photo of this side, it really wasn’t a pretty sight.
Step 8. Put the candies on the other side of the house. (yeay for dimensions) This time, you give the aesthetics a bit of thought 🙂
Step 9. Sit back, and enjoy the satisfaction of this life changing achievement. Your duty is done and you can wait at least another year before taking up this challenge again. Congratulations!